The hints get more and more obscure but I think I can see where they are going. After much discussion with Mr Google (we are becoming quite good friends), I came to the conclusion it was about sharing any tips you have, what keeps you going, what is the secret of success. I’m not sure I’m the one to share any tips, especially about success, after all I signed up for this challenge as a result of being ‘stuck’. If I did have one tip though it would be take inspiration form wherever you can get it. There are many artists whose work I admire but they don’t necessarily inspire me to go out and make the sort of work they make; wildlife photographers for example. Our local camera club has a number of members who make absolutely beautiful wildlife photographs but I have no desire to follow suit. And whilst most of my photography is landscape based, I don’t want to get up before dawn to go and make the same photographs that many landscape photographers make. I want to do something different.
A few years ago we were on holiday in Avignon and I spotted that the local art gallery had the work of some famous painters so off I went to take a look. I have never been so disappointed. It was small, darkly lit and the artwork really did nothing for me. Chatting to the receptionist at the hotel, she suggested I also visit the ‘Collection Lambert’ which is the museum of modern art. I went along without expecting too much as modern art ‘wasn’t really my thing’, but what a revelation! Yes, there were some exhibits that could have been made by a 5 year old and lots consisting or just words that I couldn’t really get my head round but this is where I was introduced to Land artists Richard Long and Hamish Fulton, French artist Claire Tabouret’s The Lookouts and Detanico and Lain’s Ulysses, which blew me away. The exhibitions were very varied in terms of style and content and so refreshing, I have never since said that modern art isn’t my thing and whenever in Edinburgh, head for Mod 1 and Mod2 in preference to the National Gallery. I’m not suggesting that we should all go out and study modern art, just that we keep an open mind and be prepared to immerse ourselves in something different as invariably something will rub off and fire up the imagination.
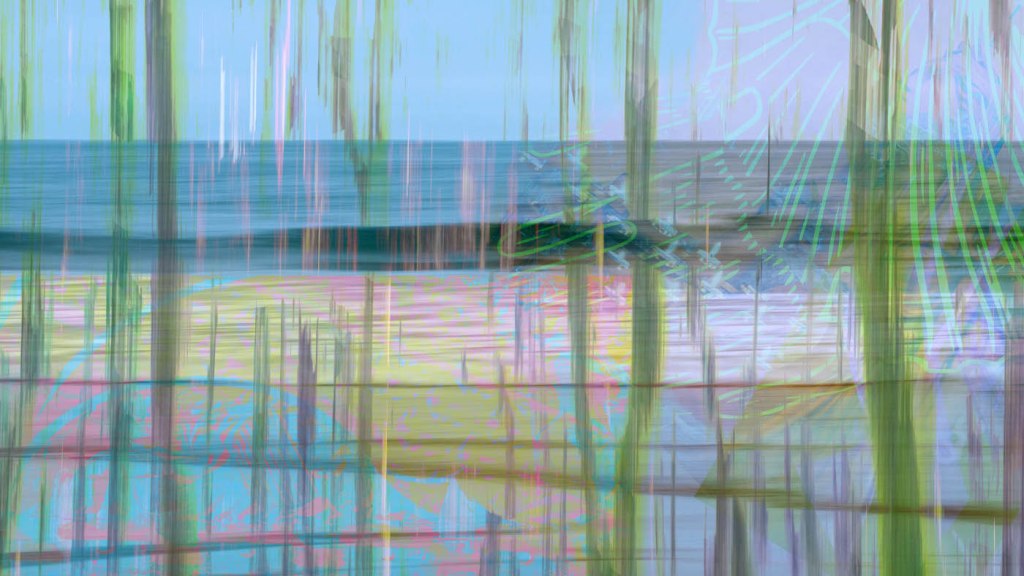
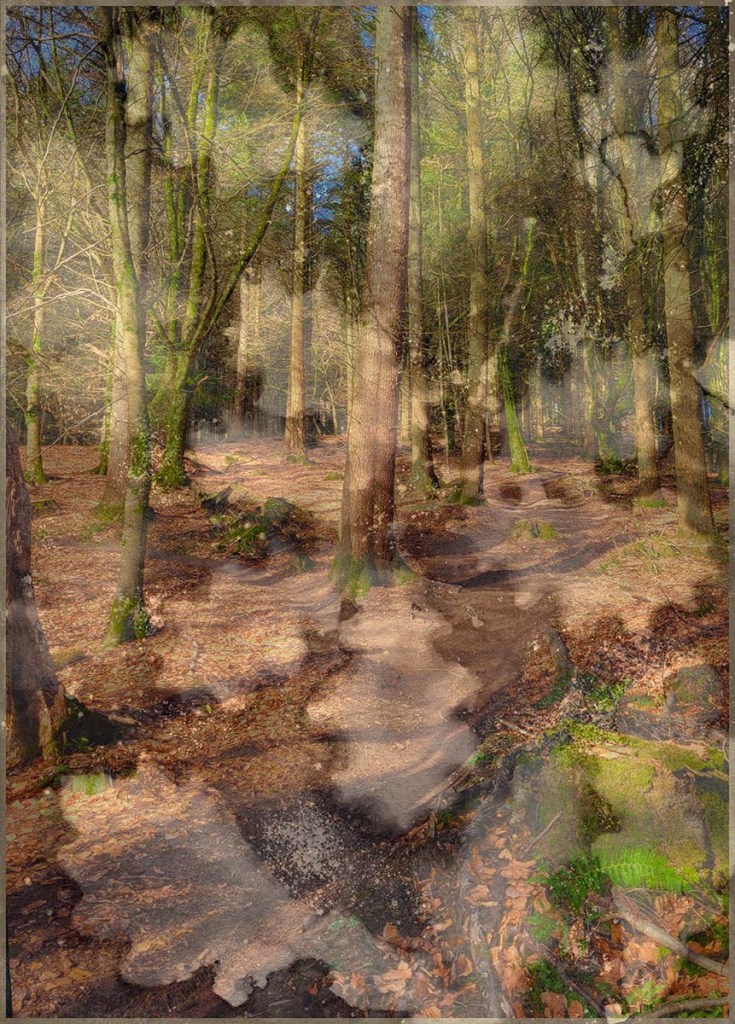
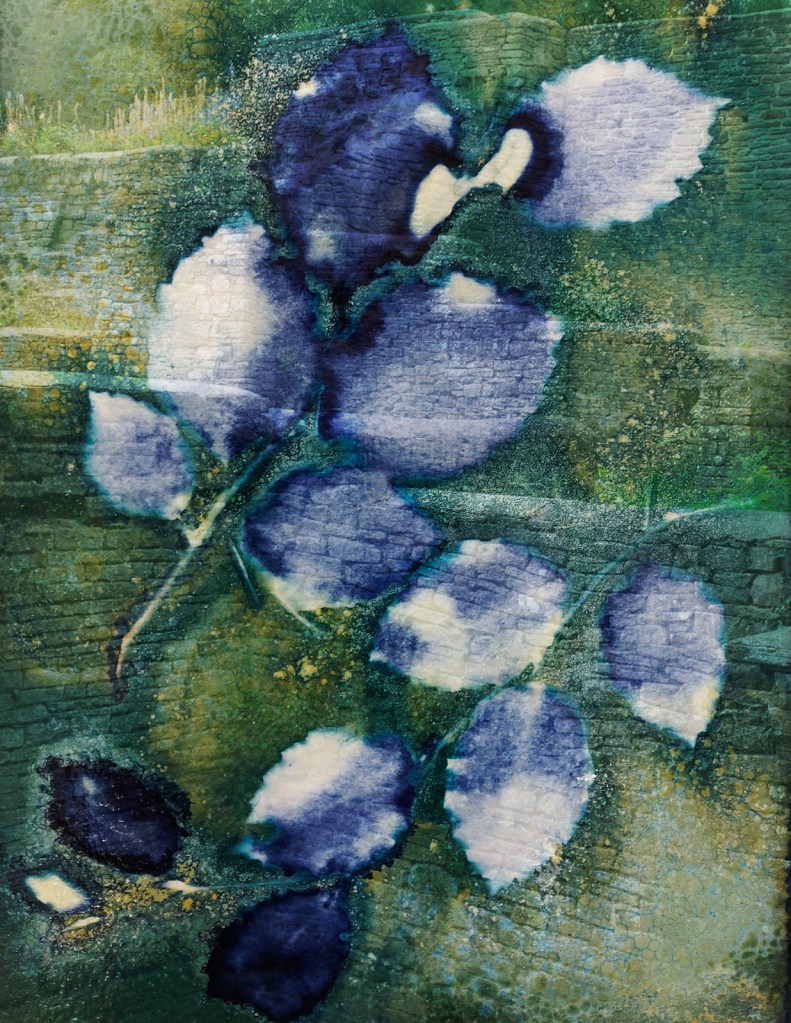
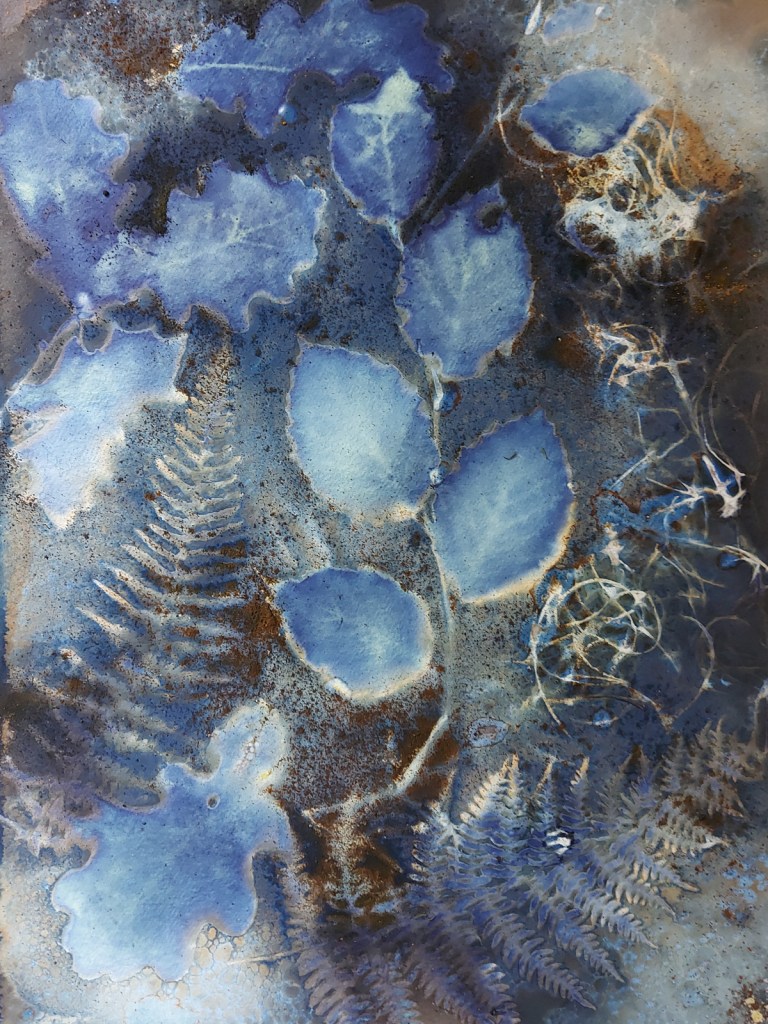
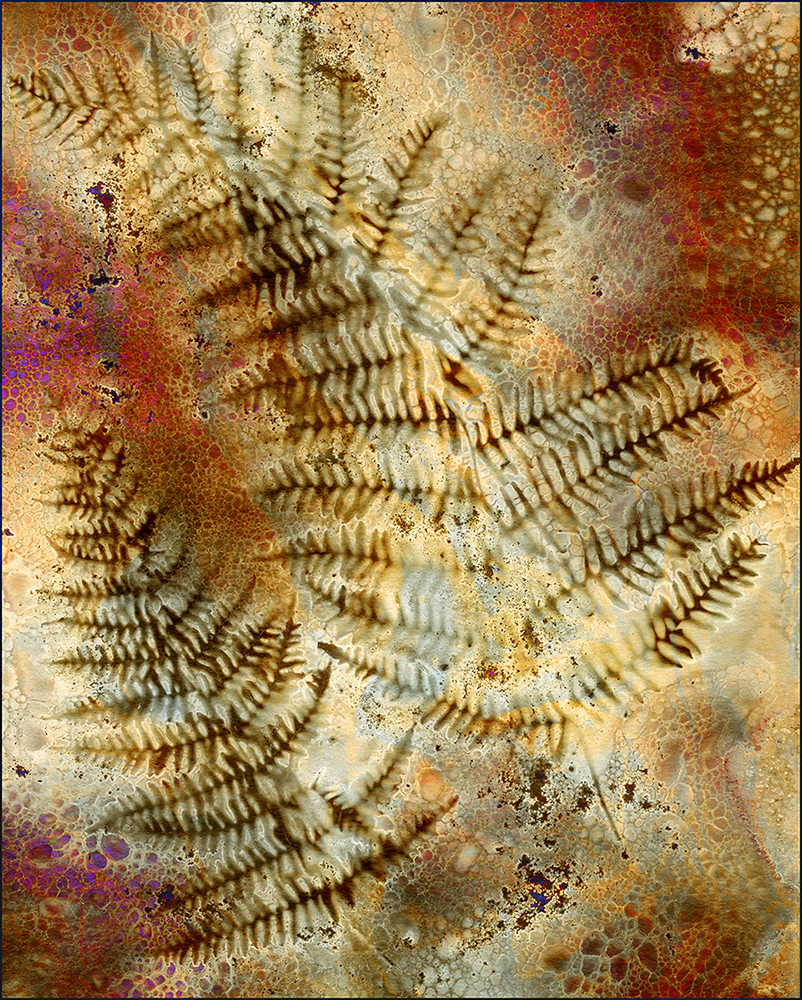
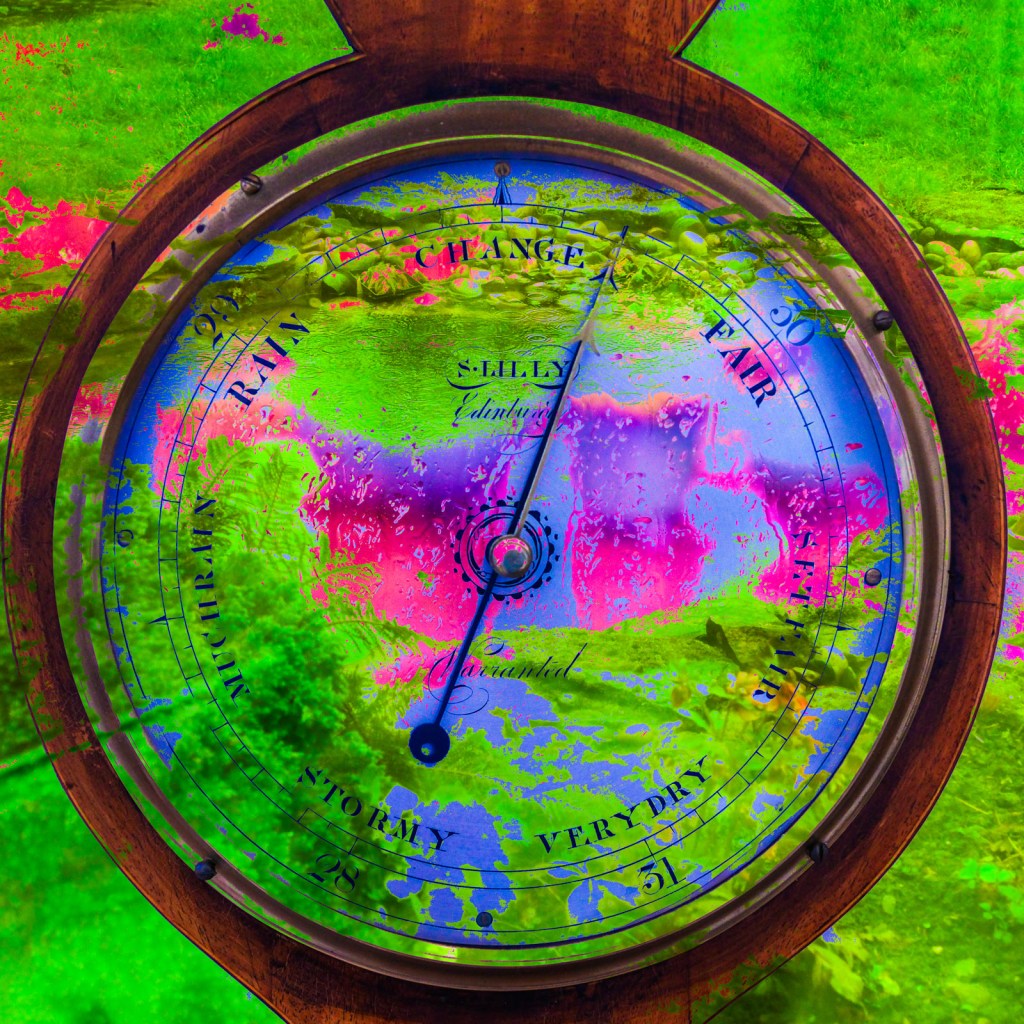
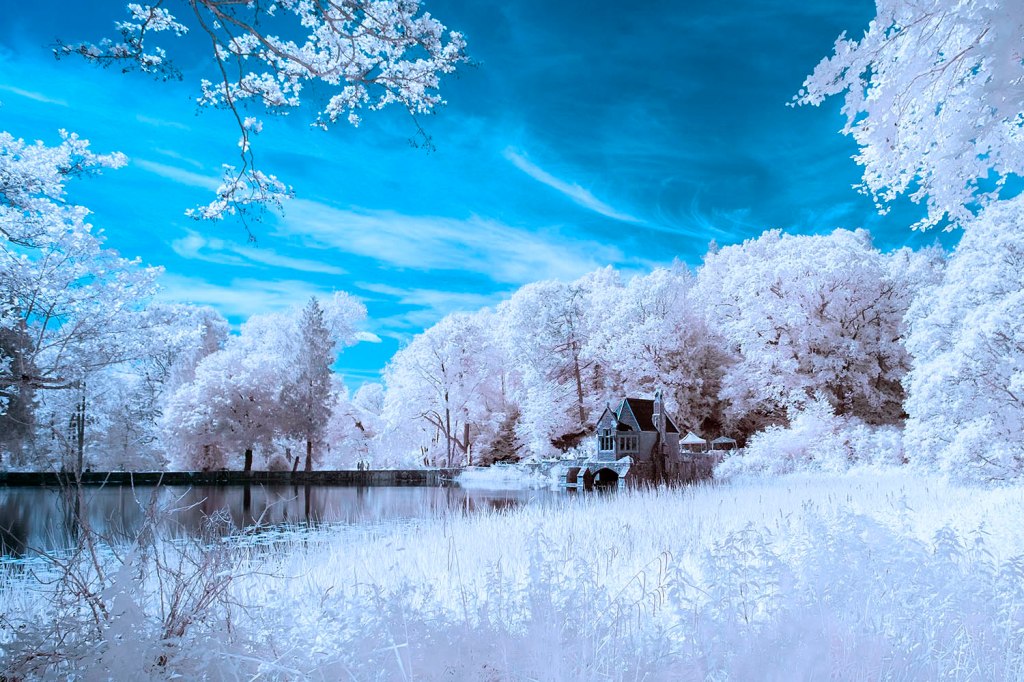
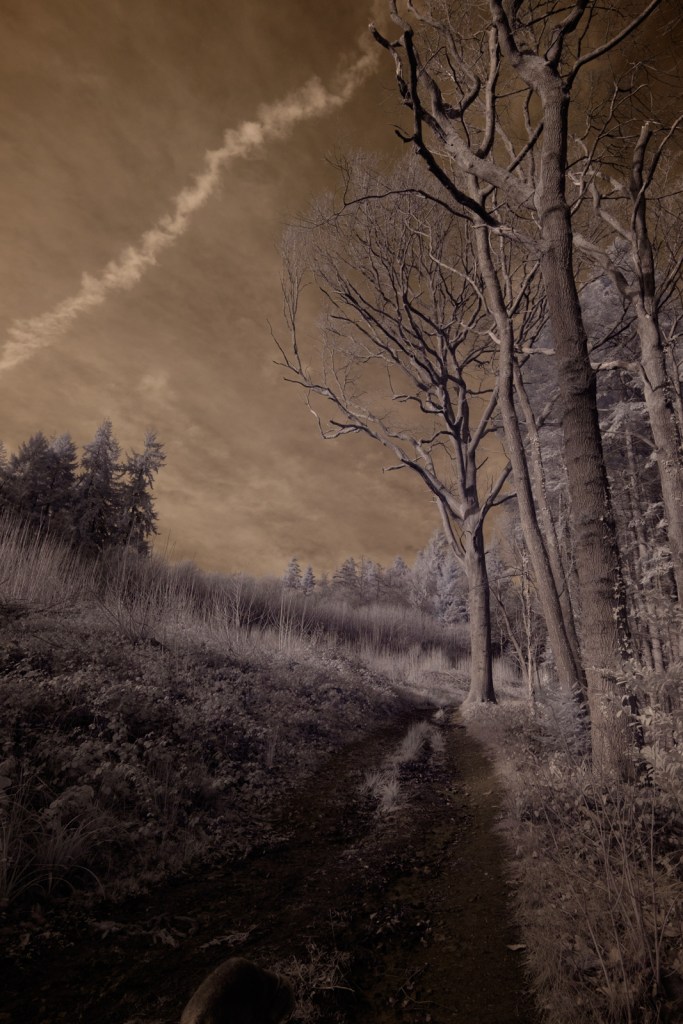
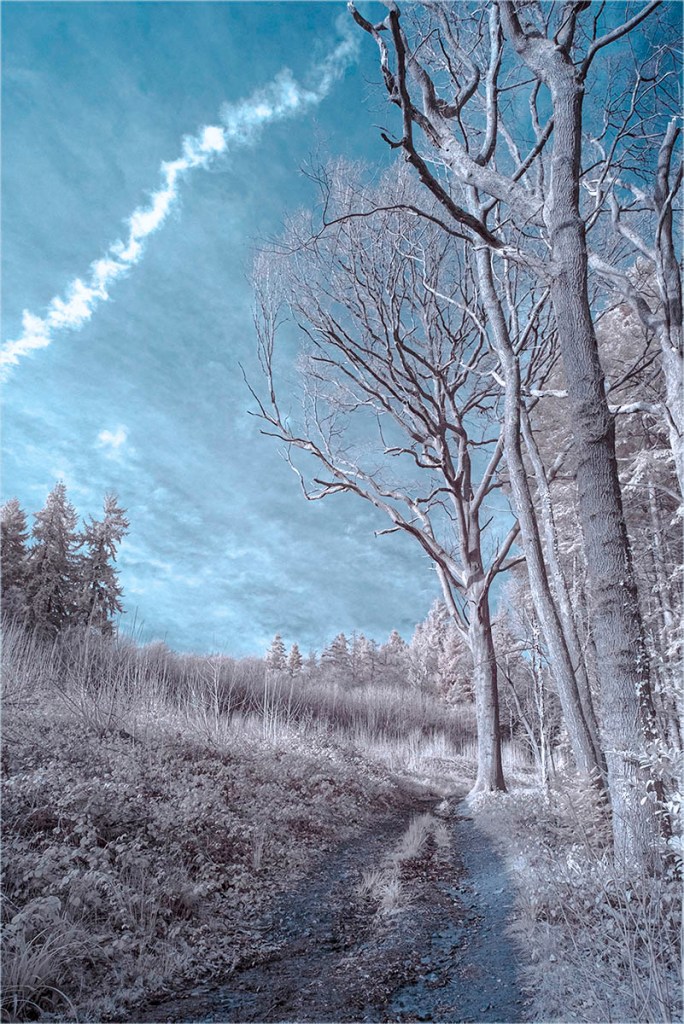
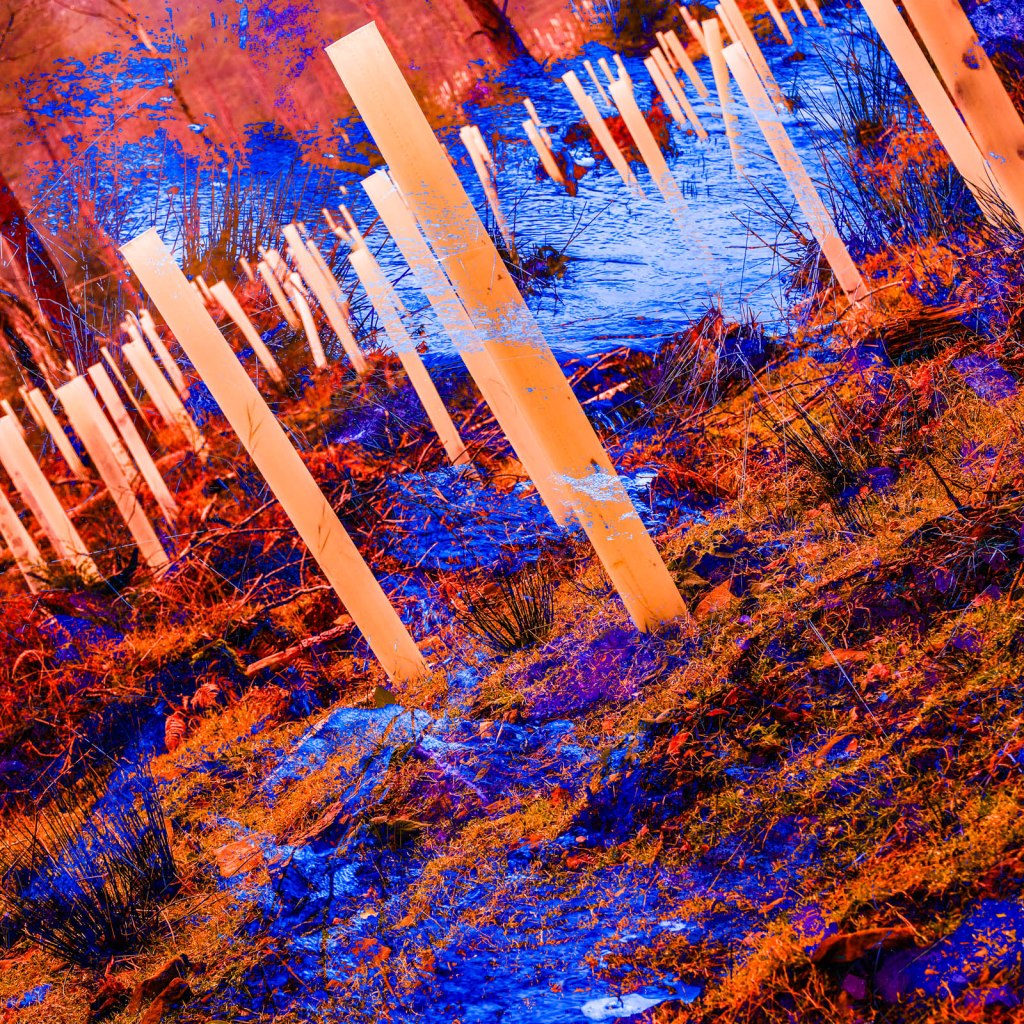
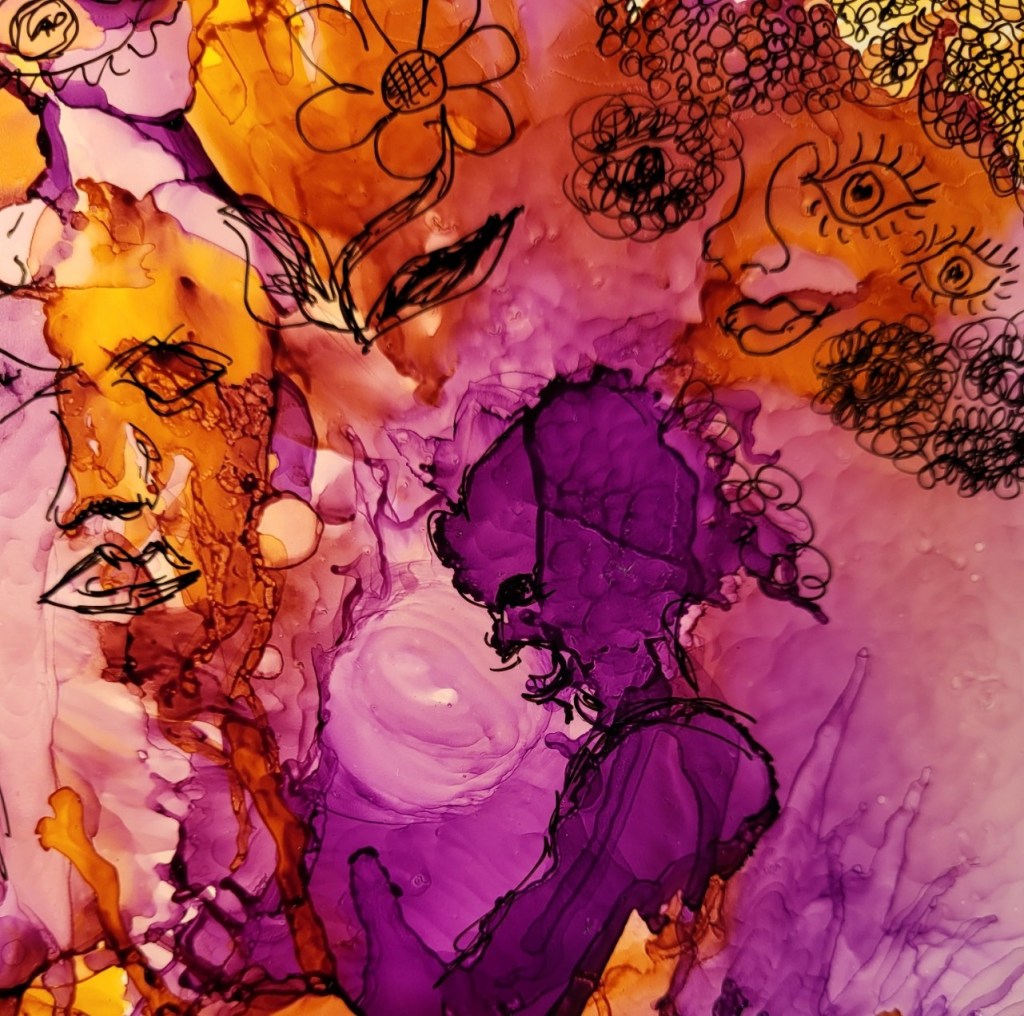
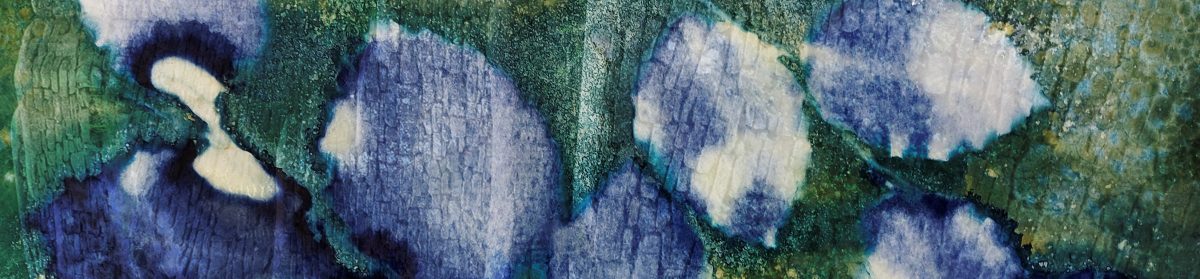
This work is a composite of work inspired by some of the artists who inspire me. They mostly work in ICM, multiple exposures, alternative processes such as cyanotypes and Photoshop techniques such as stretching pixels.