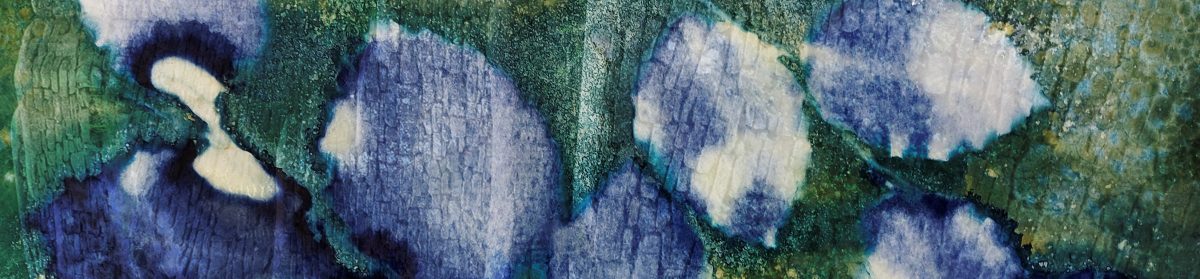
So today I am back in my box of cyanotypes but this time, made from digital photographs and the plan is to bleach and tone, then weave with the original image that the cyanotype print was made from.
The bleaching and toning process is a little more scientific this time, though to be honest the outcome is still not predictable. My research tells me that one of the best solutions for bleaching is sodium carbonate or washing soda which is readily available in supermarkets, not in the Forest of Dean it seams! However a little hardware store came up trumps. 1 teaspoonful of the soda crystals to 1 litre of water and watch it like a hawk my research also told me. It took no more than 15 minutes to bleach the print. Again my toning agent was green tea. 10 teabags left to brew in 250 ml boiling water for 10 minutes than another 1 1/2 litres cold water added. It can take anything from 2 to 8 hours to get the desired effect, mine took nearly 3 hours to achieve what I wanted.
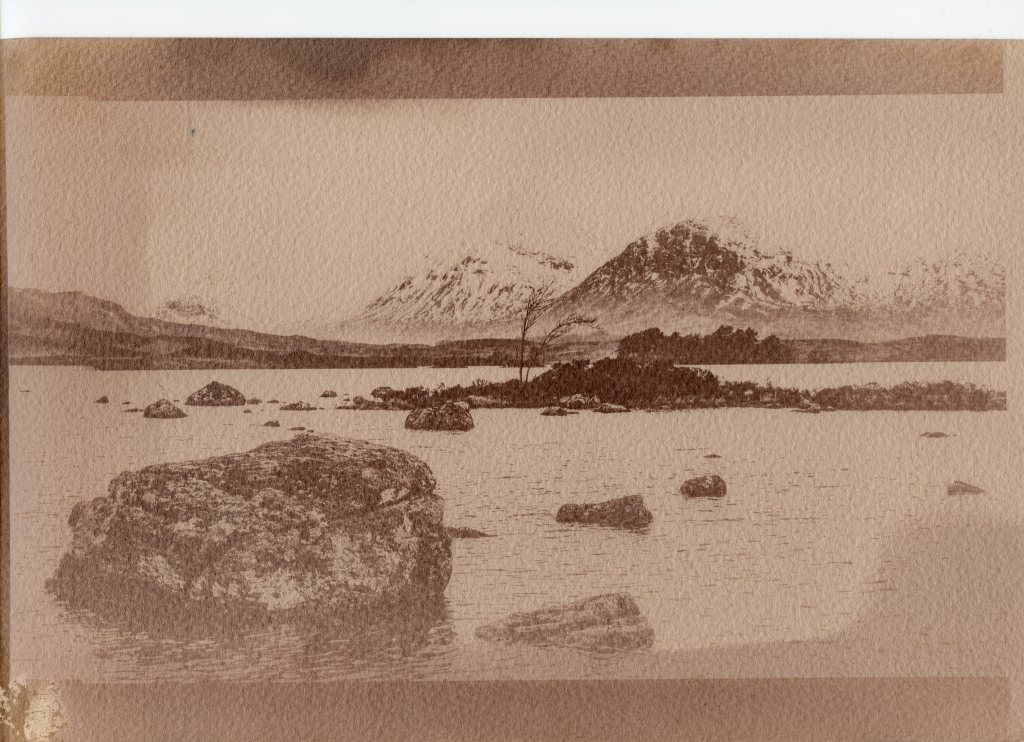
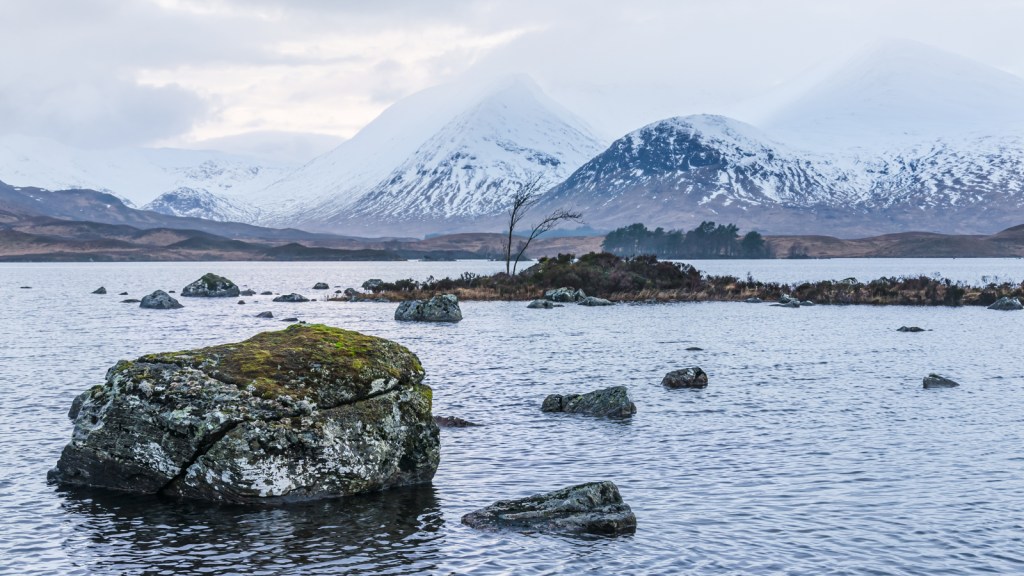
Weaving with the original image was the second stage of the process and I decided to go with the l cyanotype that I had dyed rather than uploading and reprinting it. This meant though, that I was weaving 2 papers of different weight and textures. As the cyanotype was made on heavier water colour paper, I used that as the base, slicing down from the border at the top, right to the bottom, whilst the original photograph, printed on lighter weight matt photo paper, was sliced into strips horizontally. Although both images had started off exactly the same size, I was worried that the repeated wetting of the cyanotype may have caused it to shrink and there are one or two areas of the final print that aren’t quite aligned, although it could just be that I needed to take more care! It was a god starting point though and as a first attempt, I was reasonably happy..
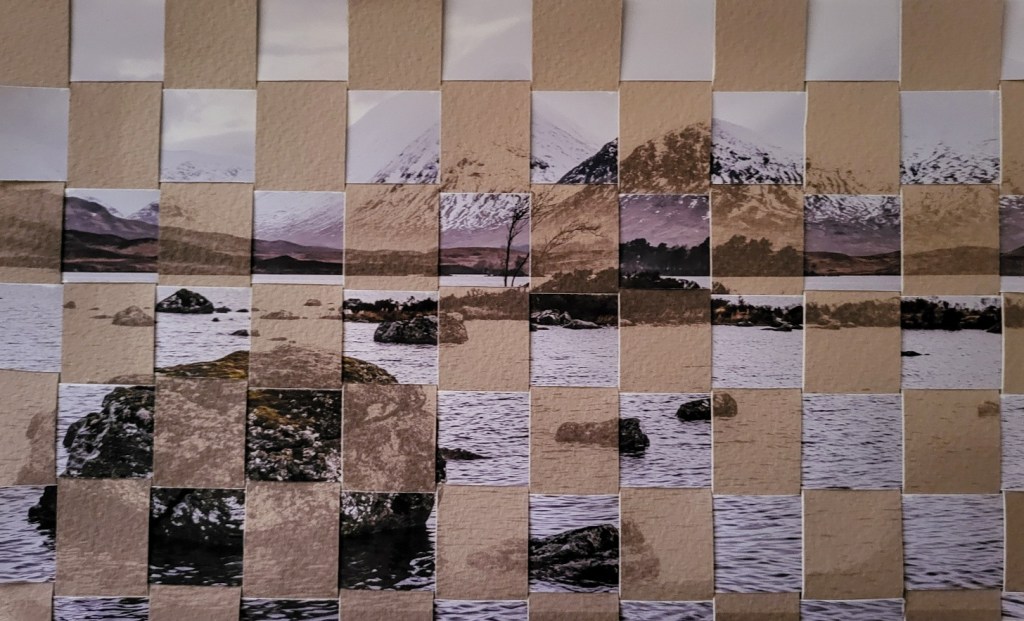
For the future, I think it would be better to scan in the toned cyanotype and print the 2 images on the same paper, making it easier to align and softer to weave.
