A bit of catching up to do.

I have kept up with my art projects over the last week, now 10 days in for the Artquest 30/30 challenge and 5 weeks in for Bobbin Along. Artquest 30/30 first.

Each day. Artquest give a hint which can be used as inspiration or ignored and to be honest, I don’t always find the hints work that well for photography, at least not what I want to do. However, whether it is maybe my brain is becoming attuned or just more open minded, for the last couple of days. I have found something I thought worked.

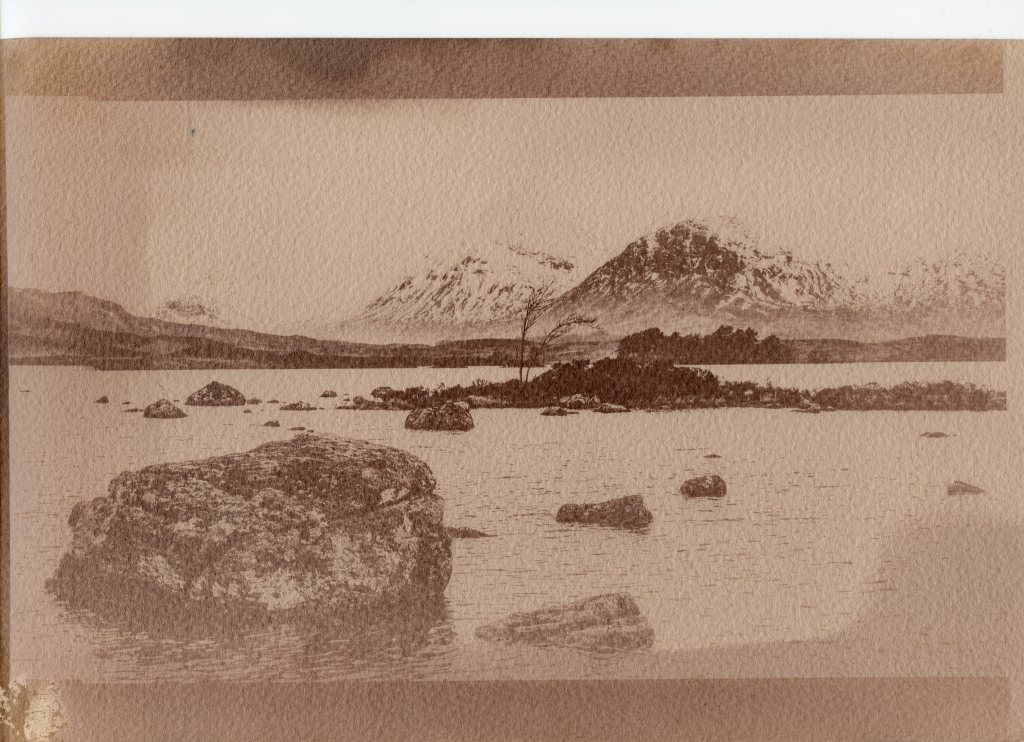
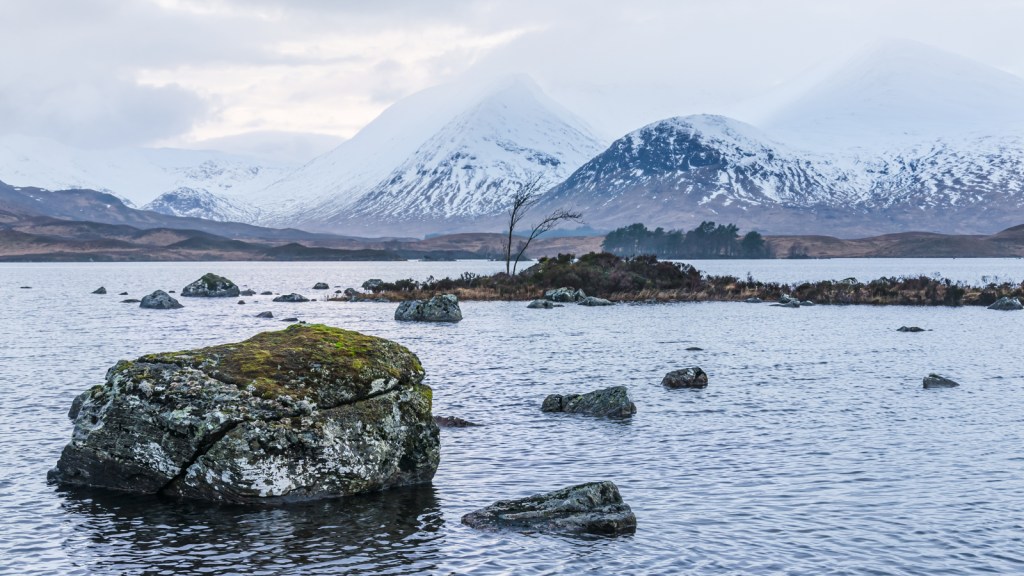
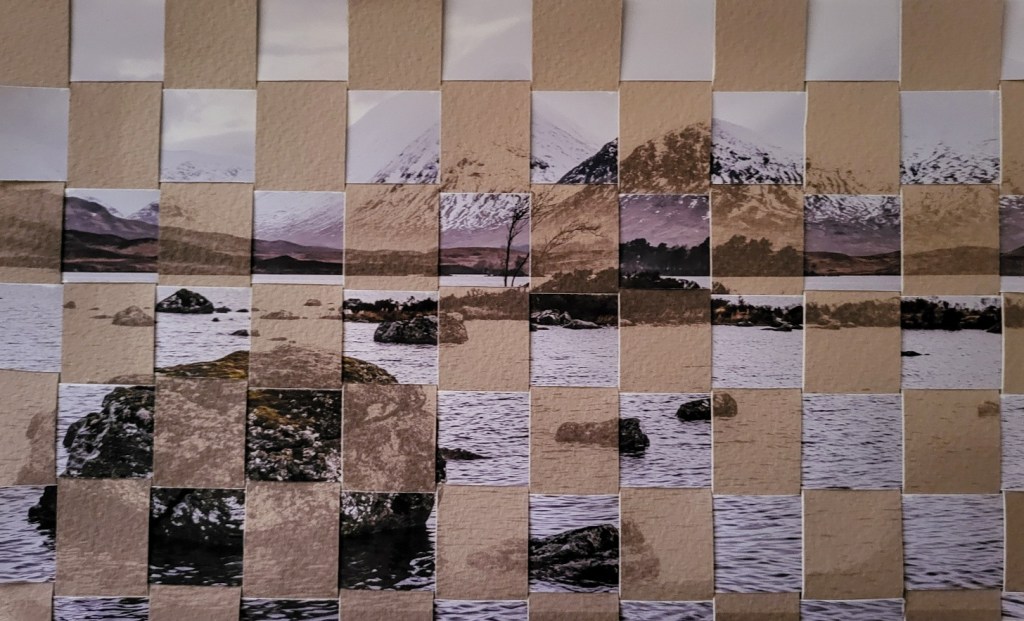
For day 7 of the 30/30 challenge, the hint was a day in your life. for this I chose a photo I took a couple of years ago in Wester Ross, the one I had used for cyanotype test strips a couple of days previously. I wasn’t terribly happy with the resulting cyanotypes. Two were over exposed and the other ok ish. I bleached the over overexposed images and toned 1 of them, then wove them together with the original photograph and entitles the resulting image ‘4 Seasons in a Day’ which you frequently get in Wester Ross.

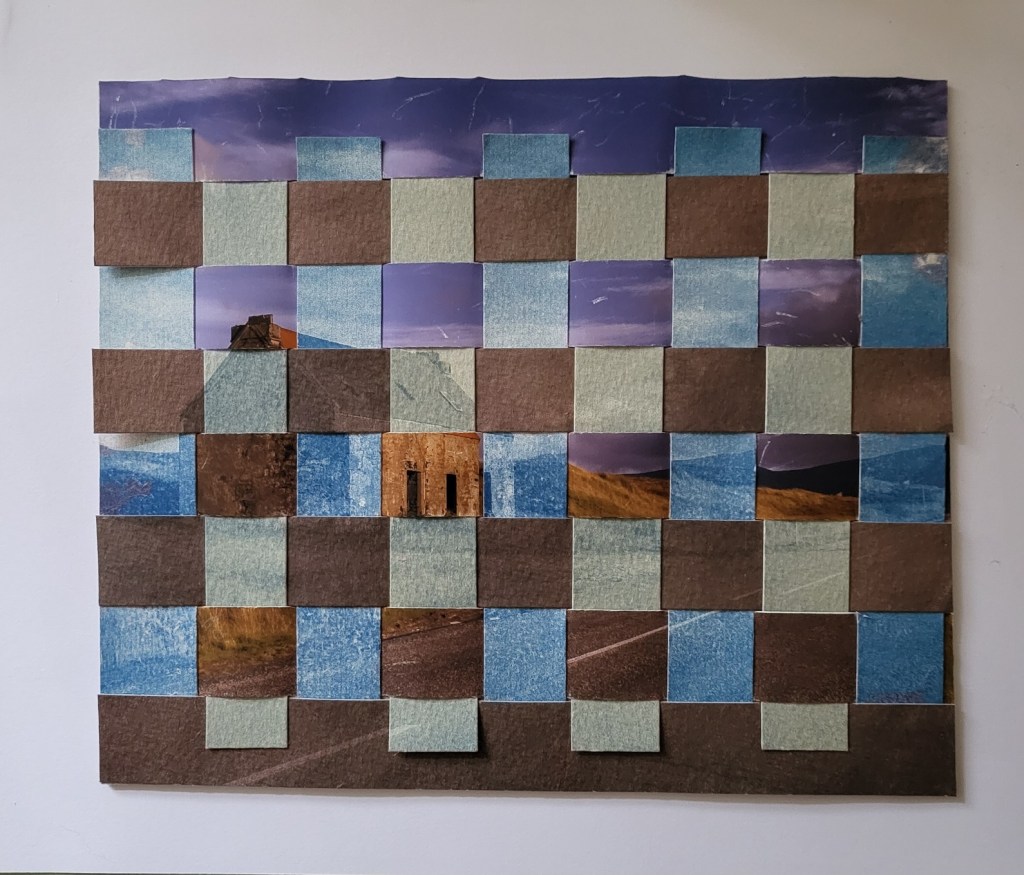
I’m not sure that weaving the cyanotypes with the original image was entirely successful and can only think this is at least in part due to shrinkage when cyanotypes are continually washed.

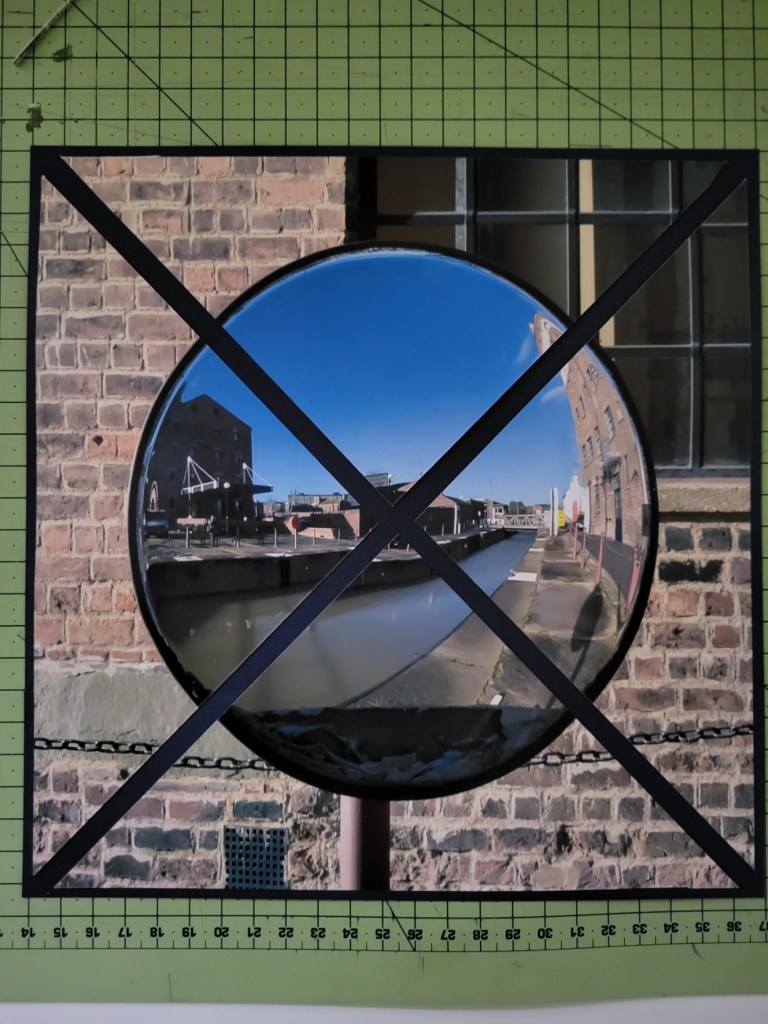
Day 8 hint was easier and again I delved into my archive of photographs. The hint was ‘Triangle, cross, circle, square’ and for this I chose a photo that I had taken a few years ago for a camera club competition.

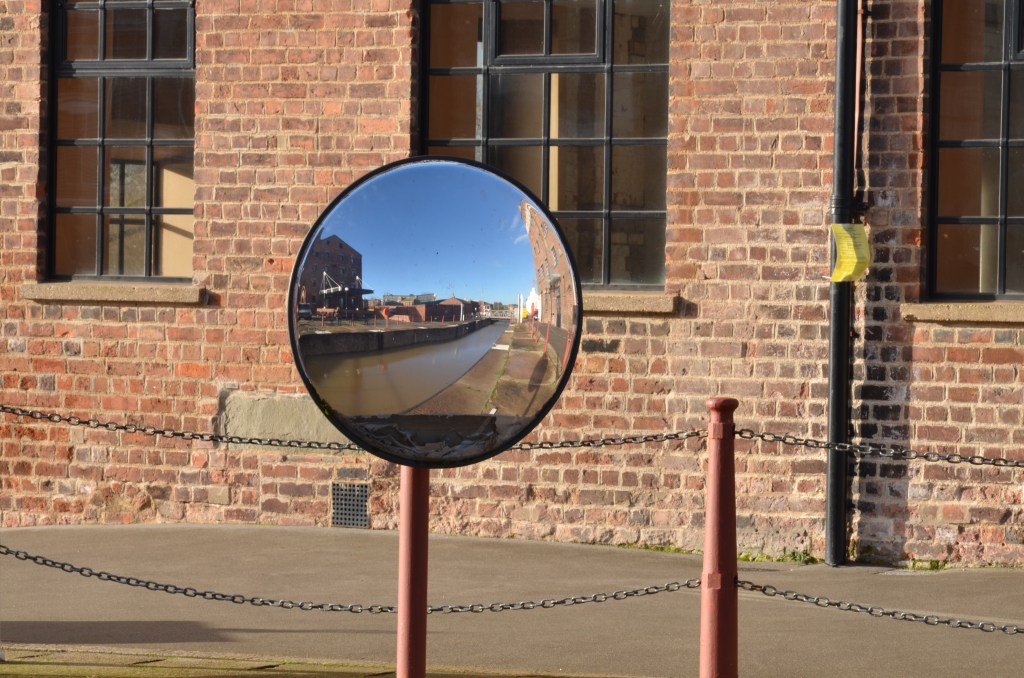
I cut the photo into a square with the circular missor in the centre, then cut from corner to corner making 4 triangles and places some dark card underneath to make a cross. I wish they were all that simple!

Artquest 30/30 Day 4: A cold morning on Rannoch Moor

So today I am back in my box of cyanotypes but this time, made from digital photographs and the plan is to bleach and tone, then weave with the original image that the cyanotype print was made from.

The bleaching and toning process is a little more scientific this time, though to be honest the outcome is still not predictable. My research tells me that one of the best solutions for bleaching is sodium carbonate or washing soda which is readily available in supermarkets, not in the Forest of Dean it seams! However a little hardware store came up trumps. 1 teaspoonful of the soda crystals to 1 litre of water and watch it like a hawk my research also told me. It took no more than 15 minutes to bleach the print. Again my toning agent was green tea. 10 teabags left to brew in 250 ml boiling water for 10 minutes than another 1 1/2 litres cold water added. It can take anything from 2 to 8 hours to get the desired effect, mine took nearly 3 hours to achieve what I wanted.

Weaving with the original image was the second stage of the process and I decided to go with the l cyanotype that I had dyed rather than uploading and reprinting it. This meant though, that I was weaving 2 papers of different weight and textures. As the cyanotype was made on heavier water colour paper, I used that as the base, slicing down from the border at the top, right to the bottom, whilst the original photograph, printed on lighter weight matt photo paper, was sliced into strips horizontally. Although both images had started off exactly the same size, I was worried that the repeated wetting of the cyanotype may have caused it to shrink and there are one or two areas of the final print that aren’t quite aligned, although it could just be that I needed to take more care! It was a god starting point though and as a first attempt, I was reasonably happy..

For the future, I think it would be better to scan in the toned cyanotype and print the 2 images on the same paper, making it easier to align and softer to weave.

Artquest 30/30 Day 1 done

Phew, first one under my belt. Very experimental and still slightly damp so I’m not sure what it will look like when completely dry tomorrow and far less when it will be woven with another cyanotype later in the day.

So my first challenge was to bleach and tone a cyanotype print, the intention being that I will weave it with another untoned image tomorrow. with hindsight I should maybe have copied this image before toning so that I could weave a toned and untoned version of the same image but I didn’t do that.

They are the same subject matter and the same size so we’ll see how it works!

The bleaching and toning process was very experimental, there are so many variables you never really know how it will turn out, a bit like making wet cyanotype prints. I used plain chlorine bleach which is quite harsh and can break down the fibres so needs to be used sparingly. After an hour there was no change in the colour of the print so I added a little more and finally after 4 and a half hours I was happy with the result. There was still quite a lot of blue in the image which would result in a darker shade once toned but I was happy with that.

I used green tea to tone the image, 10 teabags left to stew in 250 mls boiling water for 10 minutes and then another litre of cool water added. Research tells me not to use earl grey tea as it contains quite a lot of oil which prevents the paper from absorbing the colour. The tea I used was flavoured with mint and I worried that this might cause a problem too but it doesn’t appear to have been an issue. The print was left face down in the brew for about 30 minutes before I was happy with the results. As can be seen, there is quite a pint tinge to the highlights but I’m happy with that for now. Tomorrow’s job, once the print is completely dry, is to slice each print and weave them together. Exciting stuff!